The following describes how to turn your Windows Machine into a Linux Server using VirtualBox step by step.

VirtualBox Download
First, download VirtualBox binaries for windows hosts from this link.
Then, you may also download the extension pack. This will enable Support for:
- USB 2.0 and USB 3.0 devices
- VirtualBox RDP
- Disk encryption,
- NVMe and PXE boot for Intel cards.
VirtualBox Installation
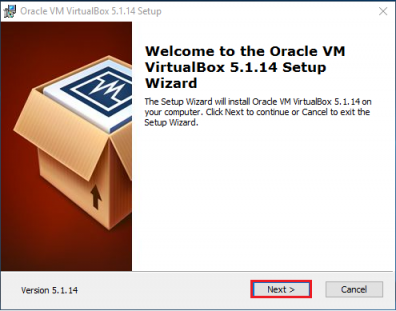
To start the installation, run the VirtualBox executable; from the directory where you downloaded the binaries.
You should now see a welcome setup wizard. It should be similar to the one on the left. Click Next to proceed.
Note: VirtualBox downloaded version may not match the screenshots. New versions are released often.
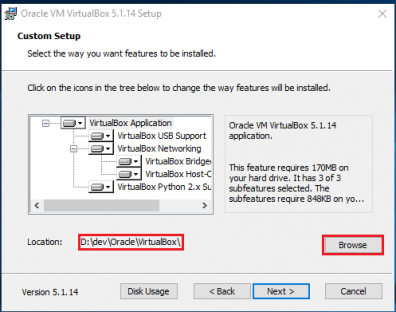
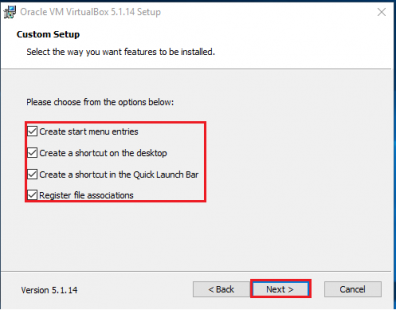
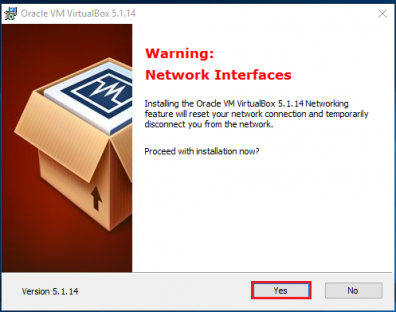
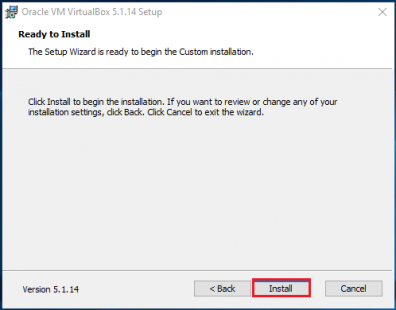
Click Next to proceed, and then follow on-screen instructions to complete the installation.
VirtualBox Extension Pack Installation
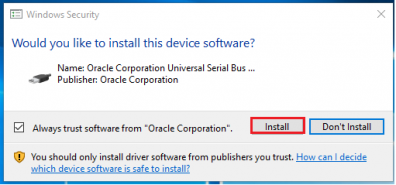
Now, run the Extension Pack executable; from the directory where you previously downloaded it.
Then, follow the installation wizard. It should be similar to the one on the left. Click Yes to proceed.
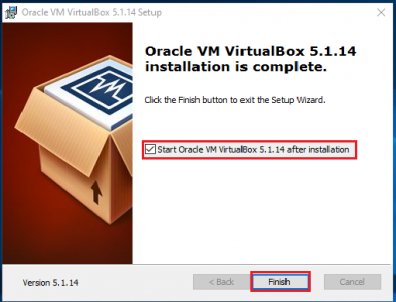
You can now run VirtualBox. By clicking Finish, with Start Oracle VirtualBox checked in, VirtualBox should launch. And the setup wizard close.
Ubuntu Download
Now, you want to download the Linux operating system; to create the virtual machine. For the purpose of this tutorial, we are choosing to use Ubuntu.
To proceed, download Ubuntu Desktop from here. Before installing the image, enable Intel Virtualization Technology (vt-x). This will turn on hardware virtualisation on your machine.
If running on a 64-bit operating system, vt-x will enable the creation of a 64-bit image.

Virtual Machine Creation
Now, you are ready to create your virtual machine.
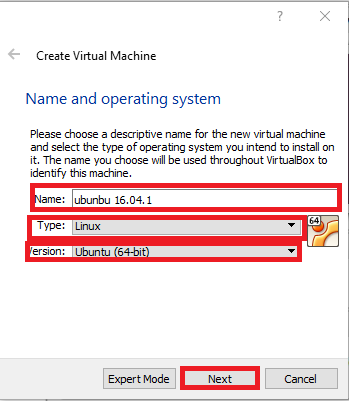
Select Linux as the type of operating system and Ubuntu (64-bit) as the version.
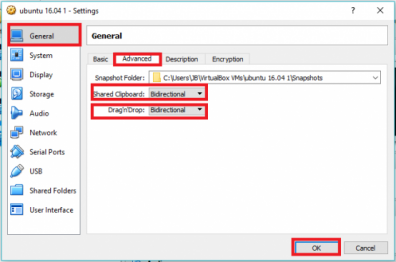
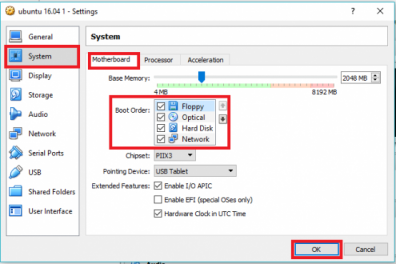
Then Navigate to General > Advanced and enable Shared Clipboard and Drag’n’Drop.
Finally, Select Bidirectional on both.
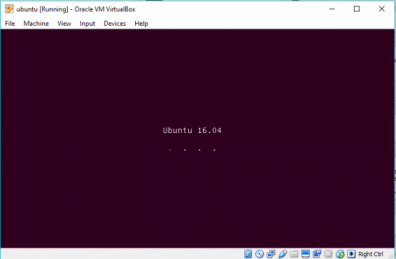
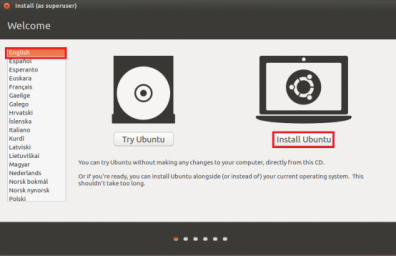
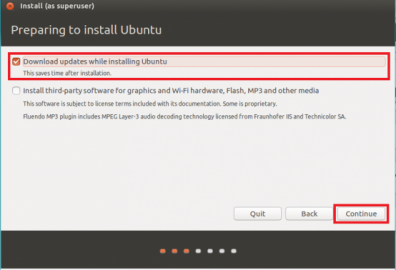
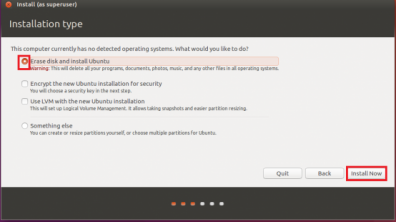
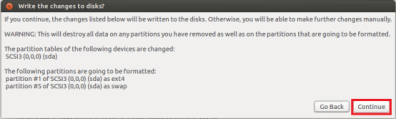
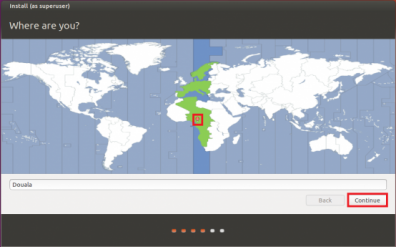
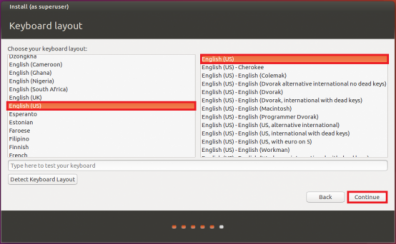
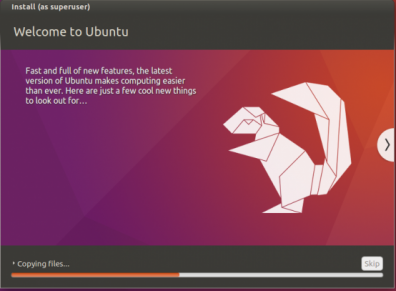
Ubuntu Installation on Virtual Machine
With the virtual machine now created, you can start with the installation of Ubuntu.
Now, enter your name, and then provide and confirm your password. You may also want to check the radio button: Require my password to log in.

Did you find this helpful?
Did you encounter any issues with the instructions?
We appreciate your feedback. Leave us your comments below: